Tuesday, September 23, 2008

A Few Stories From A Maintenance Technician

Just for the record, I live in central Florida and work as a maintenance technician for an apartment complex, and I am going to share a few short stories of what a maintenance technician will go through, after hours. These are a couple of the bad calls, I have had many, many bad calls late at night, but I only going to share a few. This is what you have to look forward too if you want to become a maintenance technician.

Just another day at the apartment complex, the thing I hate most about my job as a maintenance man, is that you have to go on call for a whole week. Every place is different, some complex’s have a four week rotation, like where I work at, and then some have an every other week on call rotation. It all depends on how big the apartment complex is and how many technicians that you have. The newer apartments don’t get as many emergency calls as the old ones do of course, and of course the one that I work at is pushing 40 years old, so the plumbing is shot, and I am good to get about 5-10 plumbing emergencies every week that I go on call. Some of the calls come in the middle of the night, like at 3 a.m., it can be nerve wrecking.

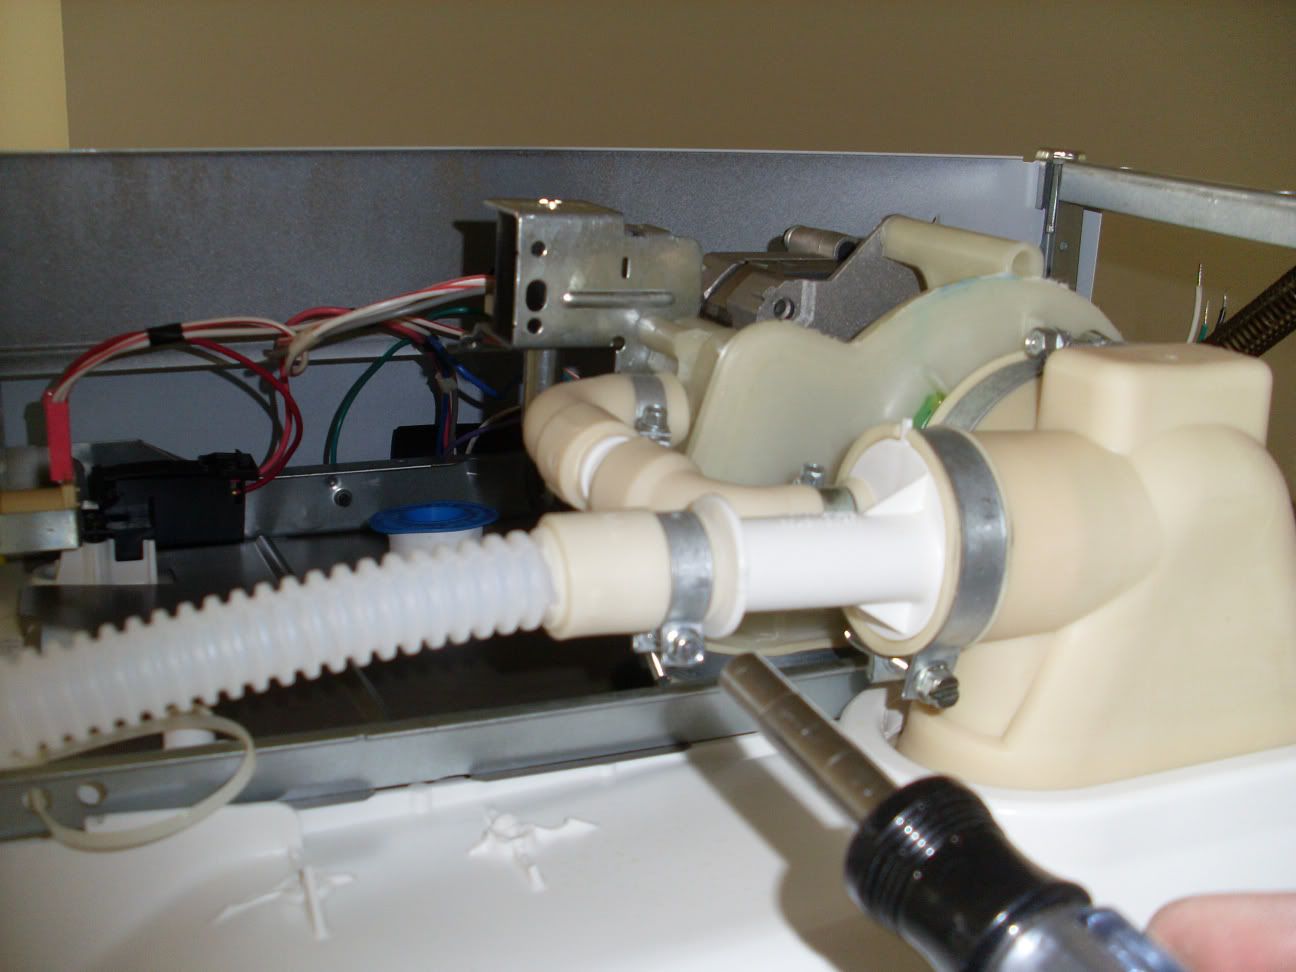
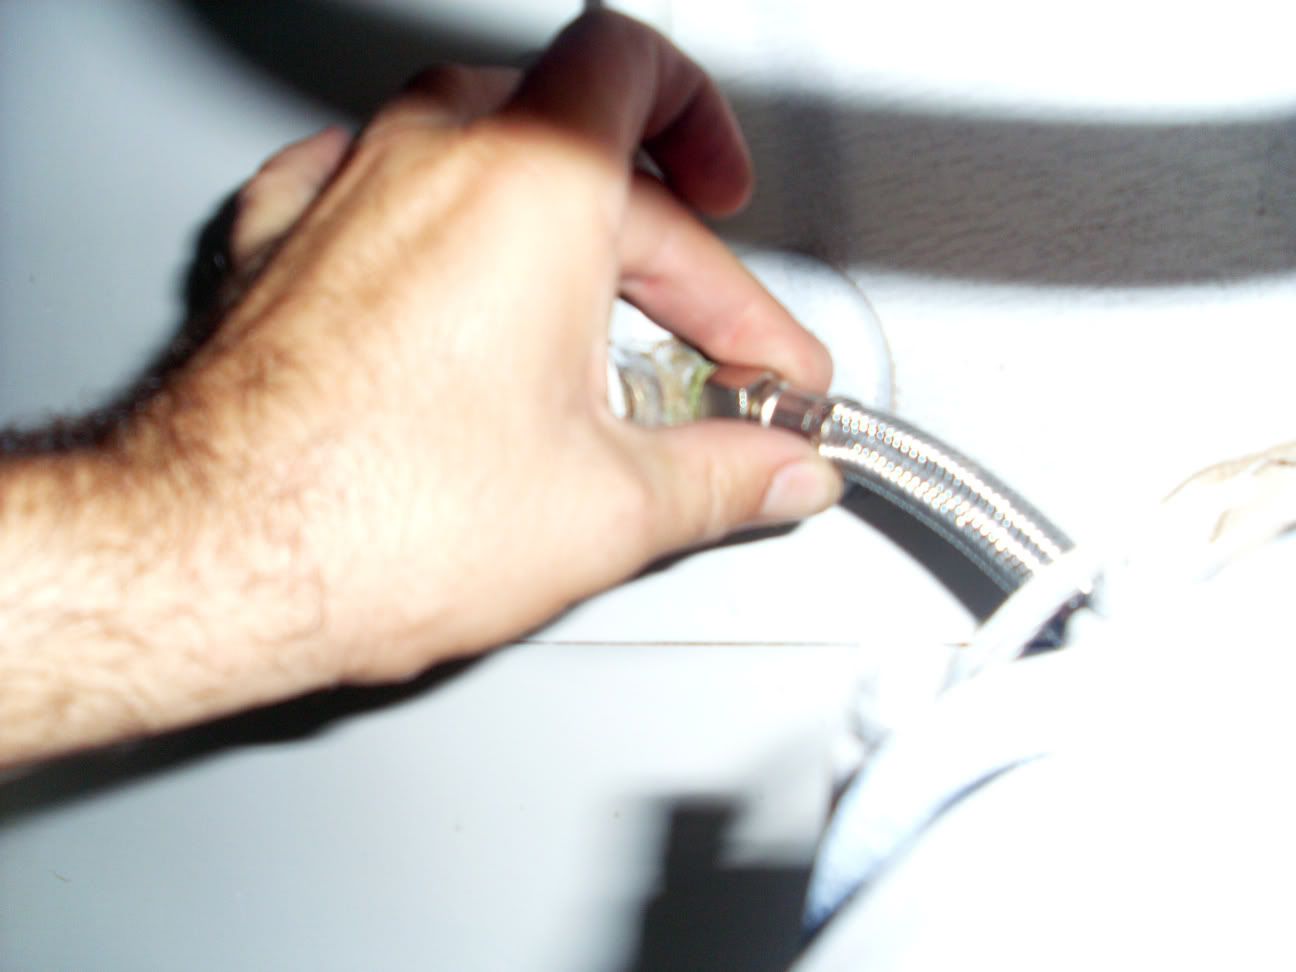
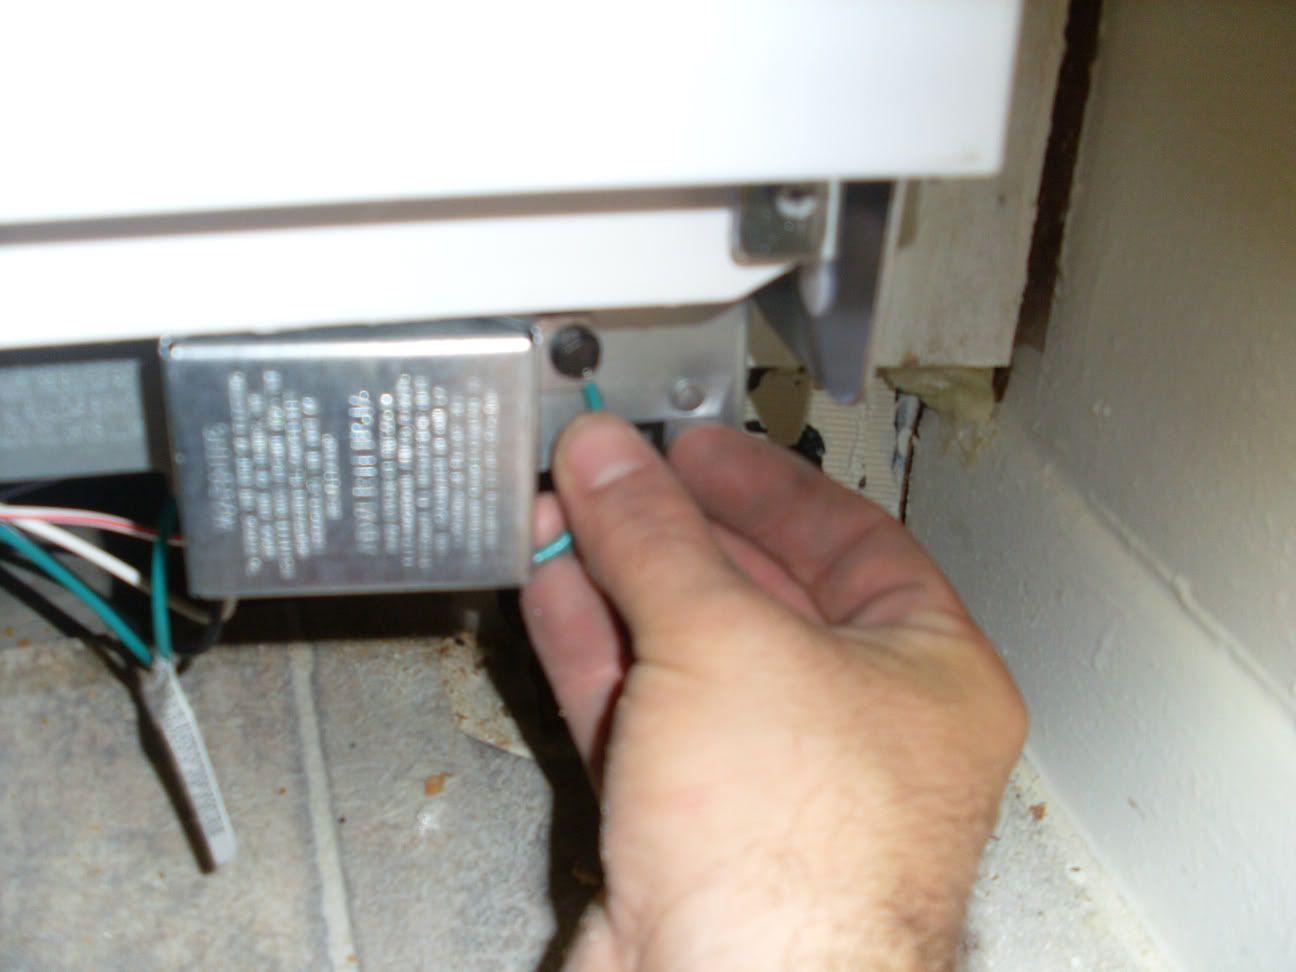
Last rotation that I was on call I got woken up by the emergency phone at about 3 a.m., the resident had said that he had water pouring down from the ceiling. I of course tried to talk my way out of taking the call, but he had insisted that it was an emergency and needed immediate action, because the water was pouring from a light and his carpet was getting wet, great. So I have to bang on the residents door that lived above him and wake her up at 3:45 am in the morning, explain to her that she had a leak coming from her apartment and I had to take care of it immediately. Sure enough I went to the water heater and it was leaking from the bottom of the water heater, her carpet was also soaking wet. So I secured the water to the water heater and told her that I would be out first thing in the morning to replace it.

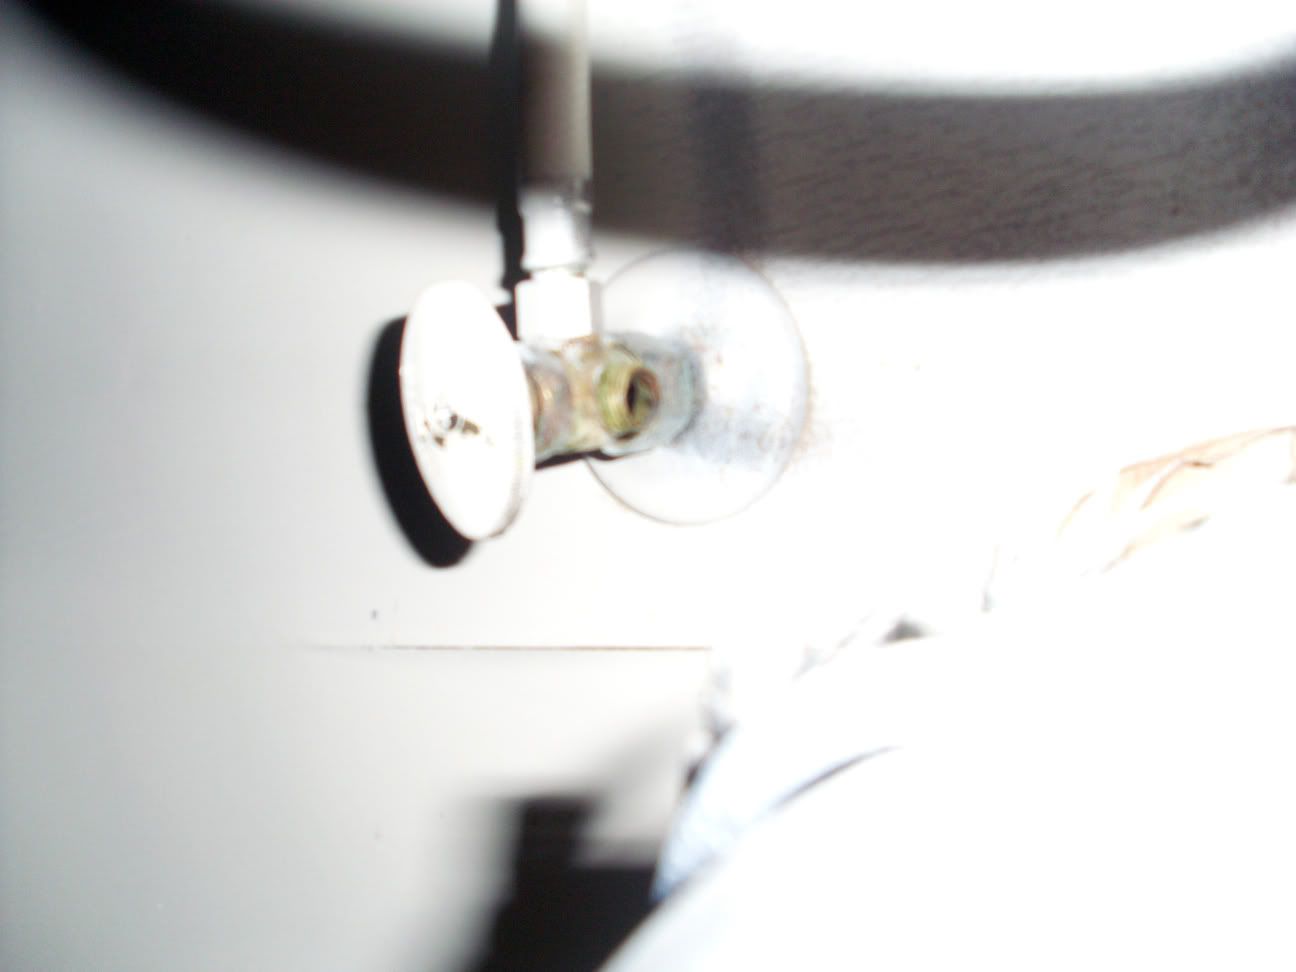
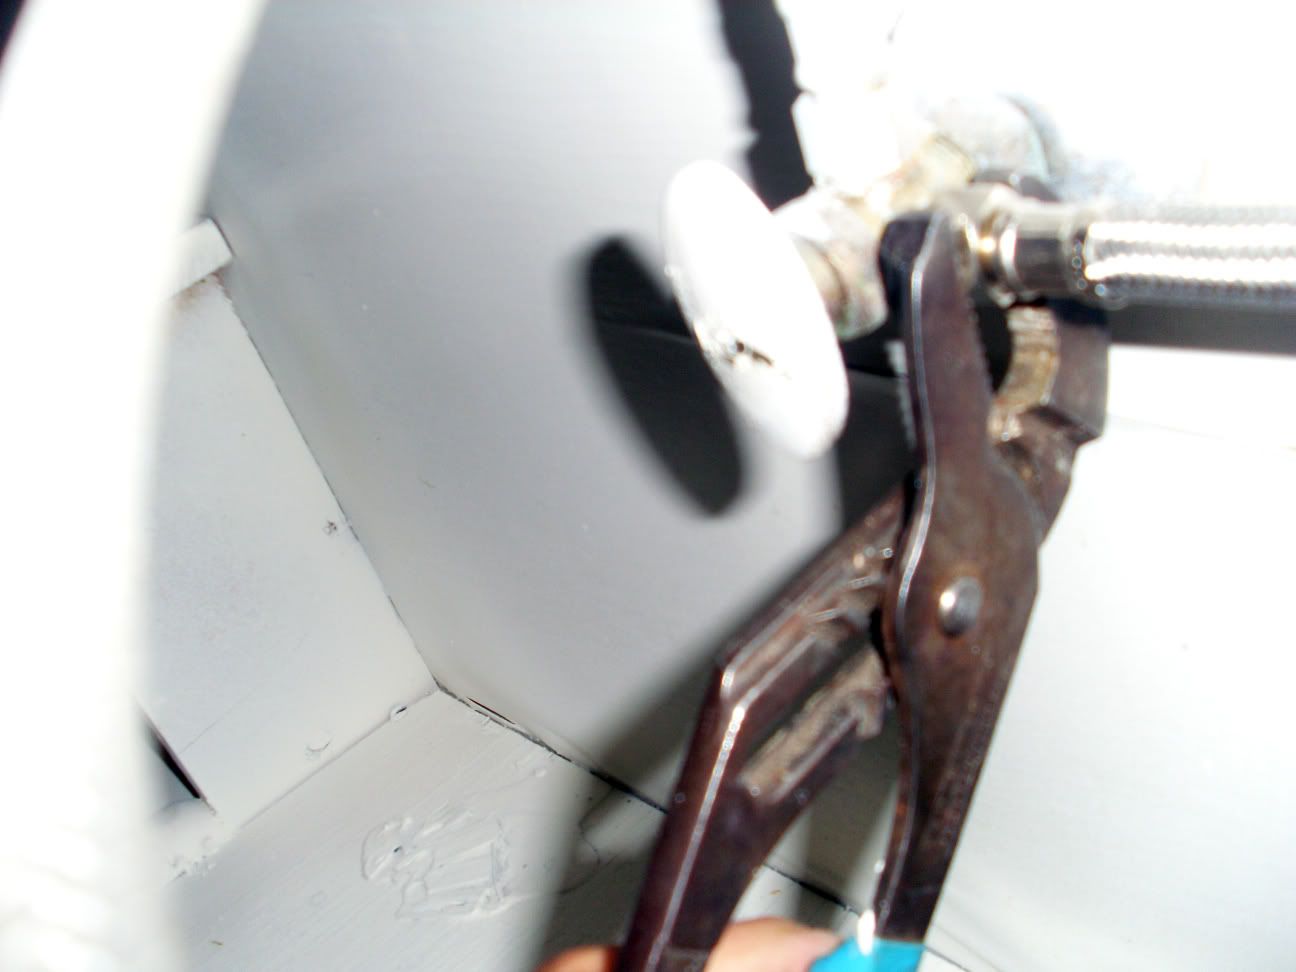
Well I thought that I had the shutoff valve turned all the way off, until 3 hours later, 7 am I get woken up again with a call, the resident with the bad water heater said her whole room was soaking wet, so I hauled ass over there, then again shut down on the shut off valve with some pliers. All of her crap was soaking wet, she was pissed, but then again I was pissed off too, seeing as how I barely got any damn sleep that night.

I had a similar situation a couple of months ago, this time I was woken up at 2:30 a.m., I was still drunk and after the 5th time the resident had called I had finally woken up to return the call. He was screaming that it was like Niagra falls in his hallway. He stated that the apartment above him was a vacant apartment, meaning that nobody lived there, so I went to the office and pulled a key for the vacant apartment, went upstairs and the toilet supply hose to the toilet was completely off. So a steady pressure of water was just sitting there pouring for about an hour or so. So I immediately secured the shut off valve and called the on-call carpet cleaner, who didn’t answer his phone after about 5 tries, probably drunk and passed out too. So I go to the shop and get the wet vac and started vacuuming the soaked carpets up, both upstairs and downstairs. Then I told the guy that we will have the carpet extractors out there first thing in the morning to extract the water from the carpet. He was okay with that, the dude just wanted to get some rest anyway.

So if you decide you want to make a career being a handyman or maintenance man for an apartment complex these are some of the things that are going to happen, there is no way around it. You will get calls in the middle of the night sooner or later, and once you do, sooner or later it is going to happen again so be prepared. While I was writing this I had to do 2 a/c calls, but it is only 7 PM right now, most of the time the calls stop around this time. But if you get a call after, you know that it is most likely an emergency.

Bookmark and Share

Tuesday, September 9, 2008

Alternatives to Drain Cleaners

One of my favorite tools that I use when I am on the job is the plunger. You can get so much use out of a plunger it is ridiculous. I mean most people think of a plunger as a tool that can unclog their toilet, and this is true because it is what it’s used as most commonly. But the reason that I like it is the plunger is a very handy tool when it comes to unclogging anything that is water based and has pipes.

The reason that I am bringing this up, as soon as the average Joe that isn’t very handyman coordinated has a clog in either their bathroom sink or their tub/shower, they immediately run to the local home depot or whatever, and get buy some king of drain cleaner for about 10 bucks. Now drain cleaners do work in some cases but they can be expensive on your pocket, and they also wear down the piping of your drain system, which could eventually lead to a major pipe leak, then you will have to hire someone to tear down walls and repair the broken pipe, again, this will cost you major money out of your pocket.

So before you run to the store and buy the most expensive drain cleaner there is that guarantees it can unclog your plumbing pipes, try a plunger first. The plunger is a tool that creates extremely high water pressure to push blockage through the thin pipes into the main line, which is a lot thicker than the pipes under your sink, once the blockage is in the main piping system the flow of water will wash it away to its next destination, usually the city’s waste reservoir.

When you are plunging a sink or a bathtub, make sure that the water level is at least 6 inches above the water, this will account for maximum pressure that is shot through the pipes to unclog them. If you are trying to plunge a sink or bathtub with no water above the plunger, you are just wasting your time. So give the plunger a shot, fill the sink or tub up with water, give it about 3-10 half plunges to build up pressure within the pipes, then push all the way down with the plunger and lift up quickly, this will cause a huge blast of water pressure screaming through the plumbing pipes and will usually push the blockage further down the piping system into the main, where the blockage can float away by regular water pressure. You may have to do this multiple times, especially if there is a huge build up of hair.

If the plunger doesn’t work the next option would be a hand snake, the kind that I use is 25 feet long and is electric powered, kind of like a drill. This is how to unclog your drain if the plunger isnt working, whether it be a sink or bathtub. The hand snake works wonders, way better than any drain product that is out there, and it won’t damage your plumbing pipes either. As soon as I get a video camera I will be making many tutorials for you guys to actually show you how to fix stuff, the first ones are going to be related to plumbing, on how to use a hand snake, plunger, etc. Now I am not saying that drain cleaners don’t work, because sometimes they do, I have used them many times, but just recently I decided that there is no point, I can unclog any sink or tub with either a plunger or a snake, if the snake or plunger can’t unclog the blockage, I sure as hell know that no drain cleaner will.

Sunday, August 31, 2008

Smoke Alarm 101

This post I will be going over installing smoke alarms and I why you need smoke alarms, or smoke detectors in your home. The main reason you need a smoke alarm(s) installed in your home is for your own safety of yourself, your family and your house along with all of the valuables inside. And might I mention according to the fire department it is mandatory that you have some working smoke alarms or smoke detectors in your home.

Many times smoke detectors get neglected by home owners through pure laziness or just don’t care, smoke detectors should be tested at least once a month for accuracy, you can either push the button in to see if the beeper beeps, or this is a certain smoke spray that you can spray right onto the smoke detectors itself to set off the alarm, this method will definitely let you know if you smoke alarms or detectors are working.

Why is my smoke alarm chirping?

That chirp, or beep that are you are hearing from your smoke alarm is letting you know that the battery inside is getting low and needs to be changed immediately. Don’t ignore the beep, don’t just take the battery out so the alarm will stop beeping, just replace the damn thing, do not take any chances with the safety of your home and family. There are a few types of smoke alarms out there that are powered by different means, the best types of smoke alarms in my personal opinion are the ones that are both wired and battery operated. That way if you have a power failure the smoke alarm will still be able to detect if there is a fire or not. The battery operated and battery back-up smoke alarms are use a 9-Volt battery, and it is recommended that the battery in the smoke detector is changed once a year, this way you are sure to not hear that annoying beeping and chirping sound and you will know that it has sufficient power to keep your household alert if a fire should start. The wireless smoke alarms are good for places that don't have any power that is ran into that room, and that is the only time that I would use a wireless smoke alarm.

Installing Smoke Alarms

Let me educate you on installing smoke alarms and smoke alarm placement. When installing a wired smoke alarm you are going to need 120 volts running to a junction box, in mostly every case this should have already been done when the house was built. The first thing you need to do when installing smoke alarms is to secure the power, you don’t want to risk the chance of you shocking the crap out of yourself. The new smoke alarm should come with a mounting plate and a wire harness, the mounting plate is to be connected to the junction box by a couple of screws, and the wire harness is connected to the wires by wiring nuts, then you just simply line the grooves from the back of the smoke detector with the mounting plate until its locked in place. Turn the power on and test. Every smoke alarm comes with its own set of instructions for installation so it will vary. Smoke alarm placement should be taken serious, it is not ideal to have a smoke alarm placed right next to a kitchen, if you do then the smoke alarm will be going off every time that you cook. There are range queens for this, which are similar to smoke detectors but that are mounted inside the range hood. You should have a smoke alarm in every bedroom and in every hallway for optimal smoke and fire detection. If you have any questions or concerns on smoke alarms or smoke detectors feel free to leave me a comment.

Bookmark and Share

Thursday, August 14, 2008

Being a Handyman Takes Time

If you are the type of person that has the "I can fix anything attitude" than you are on the right track to becoming a Handyman. Not anyone can become a handyman, to do so you must have good hand and eye coordination because a lot of tasks you will be doing around the house will require this. Say for example you are soldering a copper to copper this will require steady hand movement to keep the flame just the right distance from the point you are soldering together.

Basically the more you do a certain thing or task the better you get at it. The more mistakes you make the more you learn from your mistakes, like I have changed out a couple hundred tub stems and I have made mostly every mistake you could possibly make doing so, but I have learned and my hands on experience has taught me what to do and what not to do.

See I am currently working at an old apartment complex, and at this old apartment complex with over 500 units guess what, everything breaks, there is always something to fix, somebody is always calling a problem in, when that happens me or another one of my co-workers go and fix the problem. I have been working at this old apartment complex for a couple years, and to think that I do about 20 service requests a day, mostly all of them are different. This is the best way to learn, being a multi service tech that is constantly troubleshooting and making repairs on HVAC systems, plumbing leaks, electrical issues, drywall, appliances, carpentry, and many other things. But once you fix a certain problem so many times you become an expert at it. You could read every book in the world on HVAC trouble shooting, and after you do I would like to see you trouble shoot a faulty A/C system. Without hands on experience you aren't going to be able to fix shit. So if you want to become a jack of all trades all powerful handyman, and your willing to put time into learning become a maintenance technician at a crappy apartment complex that is old and run down, this will give you the experience that you need to become a successful handyman.


Bookmark and Share

Monday, August 4, 2008

My sink is clogged !!!!

So when you have a clogged sink what is the first thing the average home owner is going to do? They are going to the store and then they are going to buy some Draino and pour it down the drain, and then once the Draino is poured down the drain it should be unclogged right? Maybe, sometimes products like Draino work but in my honest opinion the product doesn’t do a good job.

The main reason that sink and bath drains get clogged is from excessive hair build up. If you have very little hair build up and you notice that the water is draining slower than normal then this would be the time to use a liquid type product like Drain to get rid of the hair. If your sink is draining very slowly do not bother with any products that are in liquid or rock form, they are most likely not going to work.

If you are experiencing a kitchen sink draining slow and it has a garbage disposal do not use any so-called drain buster products, it will damage your garbage disposal and will not clear up shit. If your kitchen sink is clogged and it has a garbage disposal the disposal might be jammed up. I wrote a post or two on this so look it up if you want to.

So what I recommend you should do before you go out and waste money on these drain cleaning products is first of check the P-trap under the sink. The P-trap is shaped like a J and traps stuff that shouldn’t go through the drain piping system. They are usually easily disassembled so that you can clean them out, this is a common clog problem for kitchen and bathroom sinks. So check that first, and if the P-trap or “J-Bend” is clear then the clog is further down the drain piping.

If you have a plunger it wouldn’t hurt to fill the sink up with water and start plunging away, this will sometimes push the blockage down the drain piping to where it will not clog up your drain piping. I have found this technique to work sometimes but it is not promising.

The best way in my opinion is to invest about 25-50 bucks in a good hand snake, or small auger. The snake is safe, it can be used over and over and it is the most efficient way to unclog bathroom and kitchen sinks. But take note, if the clog is after the J-Bend this is the only time you will need a snake, and this usually is not the case. 75% of the service calls that I get for clogged sinks the blockage is in the J-Bend or right above it. The other 25% I use the snake and have a good success rate. The hand snake I use is a drill and it is 25 feet long. And this has a high success rate, when the hand snake doesn’t work, I simply call a plumber. I call a plumber because I don’t pay for it, the company I work for pays the plumber. If a measly 25 foot hand snake doesn’t work this means the main drain line is clogged. The most common thing that clogs up main drain lines is baby wipes, or “wet wipes”. I will explain more in a future post about main drain lines and how to unclog them and why they get clogged. I am tired and need to sign off, until then, cheers from the Tampa Bay Handyman.

Bookmark and Share

Sunday, July 27, 2008

Don't sip the tapwater dunce

So this post isn't going to be completely related to the "How to be a Handyman" niche. But then again it will slightly relate to a handyman's knowledge because it has to do with the very same water that some of you might drink, "tap water". Tap water is what you use to bathe in and wash your dishes with, not to drink. The cities of the United States deem water consumable and verify that tap water is safe to drink. Everyone knows that tap water isn't good for you to drink but the cities of the United Stated deem it to be.

Note: If you own a house that has a water supply ran from a well this article does not effect you, but please read on for more information.

I for one would never drink water straight from the tap but I have been a huge fan of refilling my ice trays with tap water, and I have also installed ice makers in a couple of places that I have stayed in the past. Well guess what, the ice in you're ice tray is tap water and more then likely, if your ice maker doesn't have a filter on it then it is also tap water. After seeing these pictures below you will understand why I had made this post about the subject.

Recently around my neck in the woods I had a buddy who is a plumber that had to fix a water leak under the ground for a certain apartment complex. The water leak was pretty bad and it was wasting about 100 gallons of water every ten minutes, that being 5 ft under ground with lots of concrete holding back the full potential of the water leak. My buddy the plumber found the underground leak and dug up the concrete to get to it with the help of some heavy duty machinery. He had found the leak and he removed the 30 year old galvanized pipe and replaced it with a new pipe. The pipe was about 3 foot long that was busted with a hole in it. Here is a couple pictures of the busted ass pipe.

Click any image to enlarge


Now the above images are pictures of what the inside of 30 year old galvanized pipes might look like. Now I am not saying that every city in the United States has potable water piping that looks like this but hey that is for you to critique.

This is what I use at my home now though, I have a shower head that has a purifier on it, my faucets have a purifier on them, and I only buy bagged ice from the store now. So it's your choice, the cities of the United States clean these pipes out and test the water but if you want to trust if this water is potable after looking at these images is up to you. You just read my opinion. To sum up this whole article this Handyman says, don't sip the tap water dunce.


Bookmark and Share

Wednesday, July 23, 2008

Install a Range Hood

Tampa Bay Handyman here again to explain and show you how to install a range hood. Range hoods are extremely easy to install, the only thing you really have to worry about is securing the power to the range hood. That is the number one safety issue in this Handyman How-to. Secure the power no matter what. While range hoods are very simple to install, I would recommend 2 people to do this installation for the beginner, if you are an experienced handyman you shouldn't need to read this tutorial at all and could simply do it yourself. But this blog post is dedicated to those who have never installed range hoods before so lets get started.

Click any image to enlargen


Look at this old piece of junk Range Hood, this thing is crap, it has to be over 20 years old and I have no idea how this thing still works. I mean this range hood is just filthy disgusting I cant even bare to look at this filth. Ewww..


So before we get started on this replacement of the range hood the very first step we are going to take, very first thing we are going to do before even touching the old range hood is secure the power to the range hood!!!!!!!! Flip the breaker off, have a voltage meter in hand to confirm the power is off, sure you can run the fan on the old range hood and flip breakers until the fan turns off, but nothing tells you the voltage is dead better than a voltage meter.

To make sure there is no power besides the light and fan for the range hood wont turn on is to take off the electrical access panel which is usually secured by one or two screws. Hold your volt tester up to the line to tell if there is power coming to it or not. No power? Good lets get to the next step.


You have the electric panel box type thingy off so now just unhook the wires, they should be connected by wire nuts or electric tape, or in some cases the quick wire connections, for the purpose of this tutorial it will be wire nuts, and the ground (the bare wire) will be secured by a metal screw.

Note: Most electrical inlets have a secure connection by a washer type nut that secures the wire casing to the appliance, in this tutorial there is not a picture of this. If you have questions or concerns just leave a comment.

The range hood will be secured by usually four screws, for the purpose of this tutorial they are going to be mounted upwards, so just simply locate the screws mounting the range hood to the cabinet and unscrew with a drill or screwdriver.


After you demount the screws you can simply just pull the old range hood down if it didn't fall already.


Now you can start setting up your new range hood, in this picture there is a hole that I will need to punch out in order to run the electric wires through, the hole can be punched out by wiggling a screwdriver back and for until the metal breaks, or a hammer and chisel would suffice.


Now this next step is easier done with 2 people, run the electrical wires through the back where you punched the hole out at, once you have the wires ran through secure the range hood to the cabinet with some screws, in this case I will be using four, the range hood had came with them.


Now just simply connect the wires together by using wire nuts. Remember, white goes to white, black goes to black, and the bare wire goes to ground.


Once you have all the wires connected you can put the electrical cover back on. Next lets install a couple range queens on the range hood. Range queens are a safety feature, if your stove catches on fire the range queen will detect it then it will put the fire out with Co2, they can only be used once so make sure that you replace one if one is used. Range queens also do go bad, so make sure to check the expiration date that's located on the range queen.


Once you install the range queens your done !


This is the finishing install. You will notice that there is a gap on both sides, this is because the range hood I installed was only 24 inches and I really needed a 30 inch range hood. I still installed it though because I had to get the apartment ready to rent. If your doing this for your own home please make sure you take an accurate measurement be purchasing range hoods. Hope this tutorial "Install a Range Hood" was helpful to those who viewed it, leave the T.B. Handyman a comment if you have any questions or need help.


Bookmark and Share

Saturday, July 19, 2008

How to install a dishwasher (illustrated)

Tampa Bay Handyman is back again to show you how to install a dishwasher. The dishwasher I am going to be installing will be a GE type model, and I will be connecting the electric by means of "hot wiring". Most newer homes and apartment have a direct plug in connection for the electric so more than likely you wont have to follow my last few steps in hooking up the electric. Below is a picture of where we are going to put the new dishwasher.


You're going to need two types of hoses, a supply hose and a drain hose as shown below, there are many different types of supply and drain hoses that could be used to install the dishwasher but these are the ones that I am going to be using.


Here is a snapshot of the dishwasher that I am going to be showing you how to install.


WARNING ! Before you even start doing anything make certain that the hot water is turned off to the supply and that the breaker to the dishwasher is secured. These 2 steps are very crucial when removing the old dishwasher failure check these two steps could flood your house or shock the crap out of you or even cause death. Electricity is no joke use extreme caution.

First thing that I am going to due is flip the dishwasher upside down and remove the wooden crate that it was delivered with. I am going to do this by loosening up all of the feet, then I'm going to toss the crate and tighten all the feet back down. Depending on how high the counter top is to your dishwasher will determine how high or low the feet will need to be adjusted.


Next there should be a 90 degree fitting that comes with the dishwasher supply hose that must be attached to the bottom of the dishwasher. Since this connection is going to be metal to metal with out any rubber washers or anything I am going to wrap some teflon tape around the threads to help prevent any possible leaks.


Next I am going to attach the 90 degree brass coupling as shown in the picture below.


Then once I got that good and tight I will hook up the dishwasher supply line to the 90.


Then hook up the drain line, this one is going to be secured into place by use of a clamp that came with the drain hose.


One last thing I'm going to do before I flip the dishwasher over is I'm gonna take the cover off thats on the bottom of the dishwasher. It's held on with 2-4 screws.


Okay we now have the drain line and the supply line hooked up to the dishwasher. Next step is we are going to feed these hoses under the sink. If your installing a dishwasher you might have to drill some holes to run the hoses under the sink, if your just replacing a dishwasher then you could just use the old holes.


Once you have the hoses ran you can start hooking them up. In this situation I am going to be hooking the drain hose up to the garbage disposal, I will be securing it with th clamp shown.


*Note - Not shown but the dishwasher drain hose should be mounted above the garbage disposal to prevent sink water going into dishwasher.

Next step is to hook up the supply line to the how water supply valve, making sure to tighten it down good with a wrench or pair of channel locks.


Now we still have the cover off and both hoses are fully hooked up so next thing we do is push the dishwasher in. Making sure you don't push the electric supply behind it. Now we can hook up the electric, the black wire to black, the white to white, the green wire is the ground and should be secured to a metal screw that's on the dishwasher. Connect the black wires and the white wires with wire nuts.


Adjust the feet on the dishwasher to your desire liking. Then secure the dishwasher to the counter top with a couple 1" or half inch screws, don't use too long of screws you don't want the screw to be poking out of the top of the counter top.


Now we can turn the power to the dishwasher back on and turn the hot water supply valve back on. You're going to want to run a full cycle and watch under the sink and the dishwasher for any signs of leaks. Once you are comfortable that there aren't any leaks you can put the bottom cover back on. If you have any questions or concerns about how to install a dishwasher just leave me a comment.


Bookmark and Share

Sunday, July 13, 2008

How To Change the Direction your Refrigerator Door Swings

Handyman here again and in this do it yourself walk through I am going to be showing you how to reverse the direction your refrigerator door swings. If you have a small kitchen like I do and the refrigerator door doesn't swing the direction you want it to its very easy to change, by no means do you have to be an expert handyman to do this as long as you have the right tools this should take about 30 minutes to an hour even for the beginner. If you have a drill with the right bits and you have done this a couple times it should take about five to ten minutes. But now why would you want to change the direction your refrigerator door swings? Take the picture below for example, this is my fridge in the kitchen and it has a left side swing.


The left side swing for this set up is good for me because I am constantly grabbing beers and the direction that it swings is perfect for me, I don't have to walk all the way into the kitchen I can easily open up the refrigerator door, grab my beer, and be on my way until 5 minutes later until I need another one.


But however this swing isn't good for when my girlfriend is in the kitchen trying to cook dinner, because shes constantly getting stuff out of the fridge and freezer and she has to walk around every time that she needs to get something out. So I decided to change the direction the refrigerator door swings to make it easier for her, I will suffer the extra 1 second it takes me to get a beer out, oh well.

This particular refrigerator is a new GE model, although you may need different bits for different brands every refrigerator is the same principle for changing the direction of the door swings. This GE refrigerator uses Phillips screws for the handles and No.20 star head bits for the 3 hinges.

First thing I do is grab my drill and put a Phillips head bit on, because I am going to remove the refrigerator handles first. You can also do this with a screwdriver but I know that its gonna save me time if I use a drill. On this GE refrigerator there is 1 screw on top of the freezer, and 2 below the freezer. 2 screws on top of the refrigerator handle, and 1 screw in the middle. I am going to disassemble the handles 1st because I wanna try and limit the amount of heat that is let inside why I'm doing the refrigerator door direction switch.


Once I have all of the screws loose I can easily just pull the refrigerator handle off.


Once you have the handles off you want to remove all of the screws that are on the side you want the hinges to be on or the same side that the handles were on. There should be a couple screws in the middle, a couple on top, and a couple at the bottom. Remember all we are doing here is taking the hinges from one side and placing them on the other side. Most modern refrigerators have screws on both sides for the very option of reversing the refrigerator swing.


Now we have open holes on the side we want the swing to be to screw the hinges into. Next step is to start unscrewing the hinge thats on top of the freezer. Once all of the screws are loose you should be able to lift the freezer door off of the middle hinge.


Set the freezer door to the side somewhere. After you have the freezer door off start unscrewing the screws that are holding the bottom hinge on. You might need a longer attachment in some cases so you can get a good torque on the screw.


Once you have the bottom hinge loose you can remove the refrigerator door then set it to the side for now. Please dont mind my ugly mug in this pic, another bad hair day.


Now you unscrew the screws that are mounting the middle hinge and once you have it loose simply move it over to the other side of the fridge and mount it. On this GE model it looks like you might have to flip the hinge rods but you don't, it doesn't matter, just mount it on the other side. Only mount one screw at first and dont screw it in all of the way, for the reason that we will have play with the middle hinge which we will need.


Secure the bottom hinge fully. Then set the refrigerator door on the bottom hinge and work the middle hinge into the hole, once its in you can continue to secure the middle hinge fully. Now back to the freezer door, on this GE model the bottom of the freezer door has an attachment that helps it stay on the middle hinge, just simply move it to the other side of the door.


Set the freezer door on the middle hinge then take the top hinge and attach it.


Now just simply re-attach the handles to the refrigerator and freezer doors !


Thats it ! I'm done, now whenever my girlfriend cooks she can easily access all the stuff she needs from the refrigerator and freezer !


Bookmark and Share